
Tuesday, November 12, 2013
Friday, March 29, 2013
Chocolate Stout Cupcakes with Irish Cream Buttercream Frosting

St. Patrick's Day is a particularly special day in our house, not just because of my darling husband's Irish heritage but also because 50% of the people in our household are named Patrick. So come mid-March, the Irish tunes go into heavy rotation, the Irish-style brews and corned beef fill our fridge, and my mind turns to chocolate stout (cup)cakes.
This recipe by TrialAndErin is fantastic: the cake is incredibly tender and moist, and the frosting couldn't be easier to make. For the greatest enjoyment, turn a blind eye to the amount of butter you're using. Then again, it does make 2 dozen cupcakes so (amount) of butter divided by 24 is... never mind.
I made a few adaptations to the recipe. First off, I have yet to make this recipe with Young's Double Chocolate Stout as suggested (though it is a terrific beer -- my gateway chocolate stout, in fact, twenty-some years ago). I have used Guinness Foreign Extra Stout and O'Hara's Irish Stout in the recipe -- both with great success.
Secondly, I have underage folk devouring these cupcakes so I substitute Baileys (non-alcoholic) Creamer (I call it "Faileys" for Fake Baileys) for the Irish Cream called for. Remember that unlike the beer in the batter, the frosting doesn't get cooked. It doesn't taste exactly like proper Baileys, but it approximates the flavor and is still pretty dang good. (I like to pour some in my midday coffee and pretend that I'm a bad girl.)
I have a little tweak for mixing the cocoa powder with the beer and butter that I think works a bit better at avoiding lumps than the original instruction. First off, it's imperative that you sift the cocoa powder. Next, rather than adding the cocoa powder to the simmering beer and butter, I very slowly whisk the beer and butter mixture into the cocoa powder. It will be very thick and paste-like when you start, but doing it this way minimizes any cocoa lumps. I also let the resulting mixture cool for 10 minutes (it's quite hot) before adding it to the egg mixture and proceeding with the rest of the batter, as I don't want to cook the eggs or activate the baking soda prematurely.
Lastly, I recommend that when you check the cupcakes for doneness, pull the cupcakes from the oven when there are a few crumbs remaining on the toothpick. If you wait until the toothpick is completely clean, the cupcakes with be overbaked and on the dry side. And remember to rotate your pans halfway through the bake time and check multiple cupcakes (in different areas of the pan) for doneness. If your oven is anything like mine, the heat (and cooking time) can vary in different spots.
 |
| Making green fondant shamrocks with a tiny heart cutter. |
 |
| Cut a heart in half down the center and voilà! A stem. |
In summary: the whole clan LOVED these cupcakes! The stout lends a (predictably) yeastiness to the cake that's really pleasing and the frosting is sublime. I don't consider myself a cake person and yet even I was a wee bit weepy when they were all eaten. Confession time: there was a little extra frosting left after icing the cupcakes so a few days later I baked up a single-layer chocolate snack cake and slathered on the leftover frosting. When you're Irish, St. Patrick's Day never has to end. Erin Go Bragh!
Thursday, March 28, 2013
Dorie Greenspan's Chocolate-Chocolate Chunk Muffins

These were for my darling husband's turn at hosting his office breakfast. I selected the recipe with his chocolate fanatic boss in mind, but alas, he was traveling that day and didn't get to partake. It's from Dorie Greenspan's Baking: From My House to Yours, and is one I've made before. However, I think that in the past I may have adapted the recipe but forgotten to write down my tweaks. I remember the muffins as being super dense with loads of chocolate-y goodness, but this time I felt that the chopped-up chunks were not plentiful enough. Next go round, I think I'll double up on the chocolate chunks and throw in a handful or two of mini chocolate chips to ensure that no bite is without ooze. You can find the recipe here, at Epicurious.
Wednesday, March 13, 2013
Homemade Granola

A couple Christmases ago, my crafty sister-in-law made granola to give as family gifts. I had never really thought about making my own granola, but hers was so tasty we quickly gobbled it all up. Since then, I've been on the prowl for a great granola recipe, but with some specific criteria, chief among them being that I didn't want to use refined sugar in my granola. Shockingly, this is not a simple task. Although one might think of granola as being a healthy, earthy-crunchy type snack, many of the recipes I found contained either white or brown sugar, or a surprising amount of added fat.
 |
| Cooling in the pan |
Eventually, I found this simple recipe from the Joy of Baking site. It's sweetened with maple syrup and contains just 2 tablespoons of canola oil. And it's really easy to make. The most laborious part was gathering and scaling out all the ingredients! You just mix all the dry ingredients (except for the fruit) together, and mix the wet ingredients together and pour that over the dries. Mix well, spread out on a parchment-lined sheet pan and bake at 325 degrees, stirring once every 15 minutes or so, for 45 minutes. Let cool, add the fruit, and eat (or if you're me, eat, let cool, eat some more, add the fruit, and eat even more). I used slivered almonds in mine and wheat bran, not germ, because that's what I already had. And I learned that pepitas are the same thing as pumpkin seeds (smartphones and Wikipedia are super useful when you're standing in Trader Joe's wondering why there are no raw shelled pumpkin seeds, and what are these pepitas anyway?)!

Speaking of Trader Joe's they have this nifty packaged mixture of golden raisins, dried cranberries, cherries and blueberries that I added to my granola — a no-brainer for me!
 |
| With fruit added! |
The granola is scrumptious; I particularly love the contrast between the toasty, crunchy oats and nuts and the tender bits of fruit. I also love that it's lightly sweetened, which really allows the natural flavor of the ingredients to shine through. This recipe can be endlessly adapted and I'm looking forward to trying other combinations of flavors.
Monday, March 11, 2013
Happy 5th Birthday, MWMOTH!

A significant milestone for me – 5 years ago today I wrote my very first post for this blog. It has sometimes been (a writing) feast or famine, but I am still happily baking and blogging. A big and boisterous thank you goes out to all my readers, but particularly my darling husband and my wonderful mom, two people who have been reading since that very first post. I would also like to acknowledge my late mother-in-law, Ann, who was always unfailingly supportive and enthusiastic about this project (and any other I ever chose to attempt). Thank you for reading.
Thursday, March 7, 2013
We ♥ (Margherita) Pizza Night!

My stand mixer recently decided to take an extended holiday,
so I’ve been feeling like I’ve been forced to bake with one hand tied behind my
back, particularly when it comes to breads and other dough creations.
Fortunately, I remembered that I had this
gem from the King Arthur Flour folks in my repertoire.
This also happens to be my hands-down favorite pizza dough recipe,
mixer or no mixer. It’s soooo very easy to make – all you need is a little
advance planning, because the dough needs to be mixed the night before.
Often I try to customize pizzas for everyone with different
toppings and sometimes sauces, but usually this means I don’t get to sit down
and eat with everyone because by the time I’m done baking, everyone else is
full. I suppose I could ask peeps to wait for me before eating, but then the
pizza would be cold. While I love cold pizza for breakfast, I think that if it’s
freshly made, it should be eaten right away.
This time I had a light bulb moment and made just one simple
variety of pizza – margherita pizza! Margherita pizza is basically a fancy
pants cheese pizza – tomato sauce, fresh mozzarella and fresh basil leaves.
I tripled the recipe for the 4 of us (two adults and two
teenaged boys – one of whom is technically an adult), which made 6 medium
pizzas. I used a pound of fresh mozzarella which I cut into large cubes – 2.65
ounces per pizza. Yes, I actually scaled out the cheese for each pizza to make sure they were equal. And I topped each pizza with my favorite homemade pizza sauce – I just love its simplicity.
Gemelli Pizza Margherita Sauce
from Artisan Baking by
Maggie Glezer
1 28-oz. can crushed tomatoes
1 teaspoon dried oregano
1 clove garlic, crushed
2 tablespoons extra-virgin olive oil
Salt to taste
Mix ingredients together and set aside until ready to use.
Bakers’ Banter has a very helpful (and detailed) blog
post with step by step instructions here, but here are some of my
pictures.
 |
| The dough, divided and dusted heavily with bread flour. |
 |
| Pizza dough... patted out on parchment and ready to go in the oven. |
 |
| After the first trip into the oven -- now topped with sauce and cheese. (I sprinkled on the oregano belatedly because I forgot to add it to the sauce!) |
 |
| The finished product! I miscounted and only had 4 basil leaves left for the last batch of pizzas. |
Wednesday, March 6, 2013
Cook's Country's Red Velvet Cake

This was a fun and festive treat I made for my family on
Valentine’s Day.
I am still trying to figure out how I feel about Red Velvet Cake as
a concept. (Is it chocolate? No? Why is there cocoa powder in it? Why is it so red?
So many questions. ) However, I do have to love anything whose primary purpose
appears to be to serve as a vehicle for delivering Cream Cheese Frosting to my
belly.
Cook’s Country was
kind enough to post the
cake recipe on their site. I originally discovered found this recipe in The America’s Test Kitchen Family Baking
Book (ATK is Cook’s Country’s
mothership, if you will) and actually made it once before, almost
4 years ago. However, I was not a fan of the book’s Cream Cheese Frosting,
which is thin and soupy, and quite impossible to work with (I remember this
particularly well because I scrawled “NO”
all over the recipe).
This time, I used the icing recipe from the Cook’s Country site, which is quite
different from the one in the book. The new recipe is perfection itself, unless
you’re on a diet. It’s easy to work
with, but has much more butter and double the cream cheese of my regular go-to
recipe from Philadelphia Cream Cheese. Oh, and it’s really, really tasty. We
licked the bowl and beaters clean.
 |
| A simple heart for Valentine's Day |
Monday, March 4, 2013
A Tale Of Two Breads
 |
| Crunchy Cornmeal and Semolina Bread |
As with many home bakers who experiment with artisan bread
baking, I usually have some unusual odds and ends in my kitchen. You know – you
buy some of this whole grain or some of that, then you
have a little leftover, so you stick it in the freezer to keep it fresh until the
next time, and before you know it, three-quarters of the freezer has been
overtaken by Ziploc bags of whole wheat flour, flax seed meal, wheat bran,
pumpernickel flour, semolina… you get the picture. As someone who has precious
little freezer space to begin with (that side-by-side refrigerator with the
slender doors for my cramped little kitchen seemed like such a sound idea at
the time), I thought it was time to find ways to use up some of the stockpile.
My husband is a big fan of toast. (I am not so much, but I
can appreciate a nice lightly browned crunchy-chewy slice of bread schmeared
with some nice salty Irish butter.) With his love of toast (and an empty bread shelf)
in mind, I decided it was the perfect time to mix up some bread.
Now, confession time. I have a lot of difficulty making
sandwich breads. I use the wrong size pans sometimes and often I overproof the
loaves. Whatever one can do wrong when making sandwich bread, I apparently do
it. I’m a pretty skilled freeform artisan bread baker, but just give me a bread
pan and rest assured, it’ll turn out flat, no matter how promising it looks
when it goes in (or comes out of) the oven. In spite of this, I gamely
attempted a couple of sandwich loaves from the King Arthur Flour site.
The first one I baked was the Crunchy
Cornmeal and Semolina Bread. I tried mixing it using the manual method as described because my stand mixer is currently out of commission, and the dough was waaaaaaay
too sticky to mix by hand, even with heavily oiled hands. So no, I did not knead it for
the full 6 to 8 minutes, but settled for manhandling it until it came together as best as I could, using a bowl scraper and trying not to lose too much dough between my fingers.
I omitted the sesame seeds as those were something from my freezer I actually
had managed to already use up. The finished loaf was tasty even if it wasn’t as
tall as I had envisioned. It toasted up very nicely too!
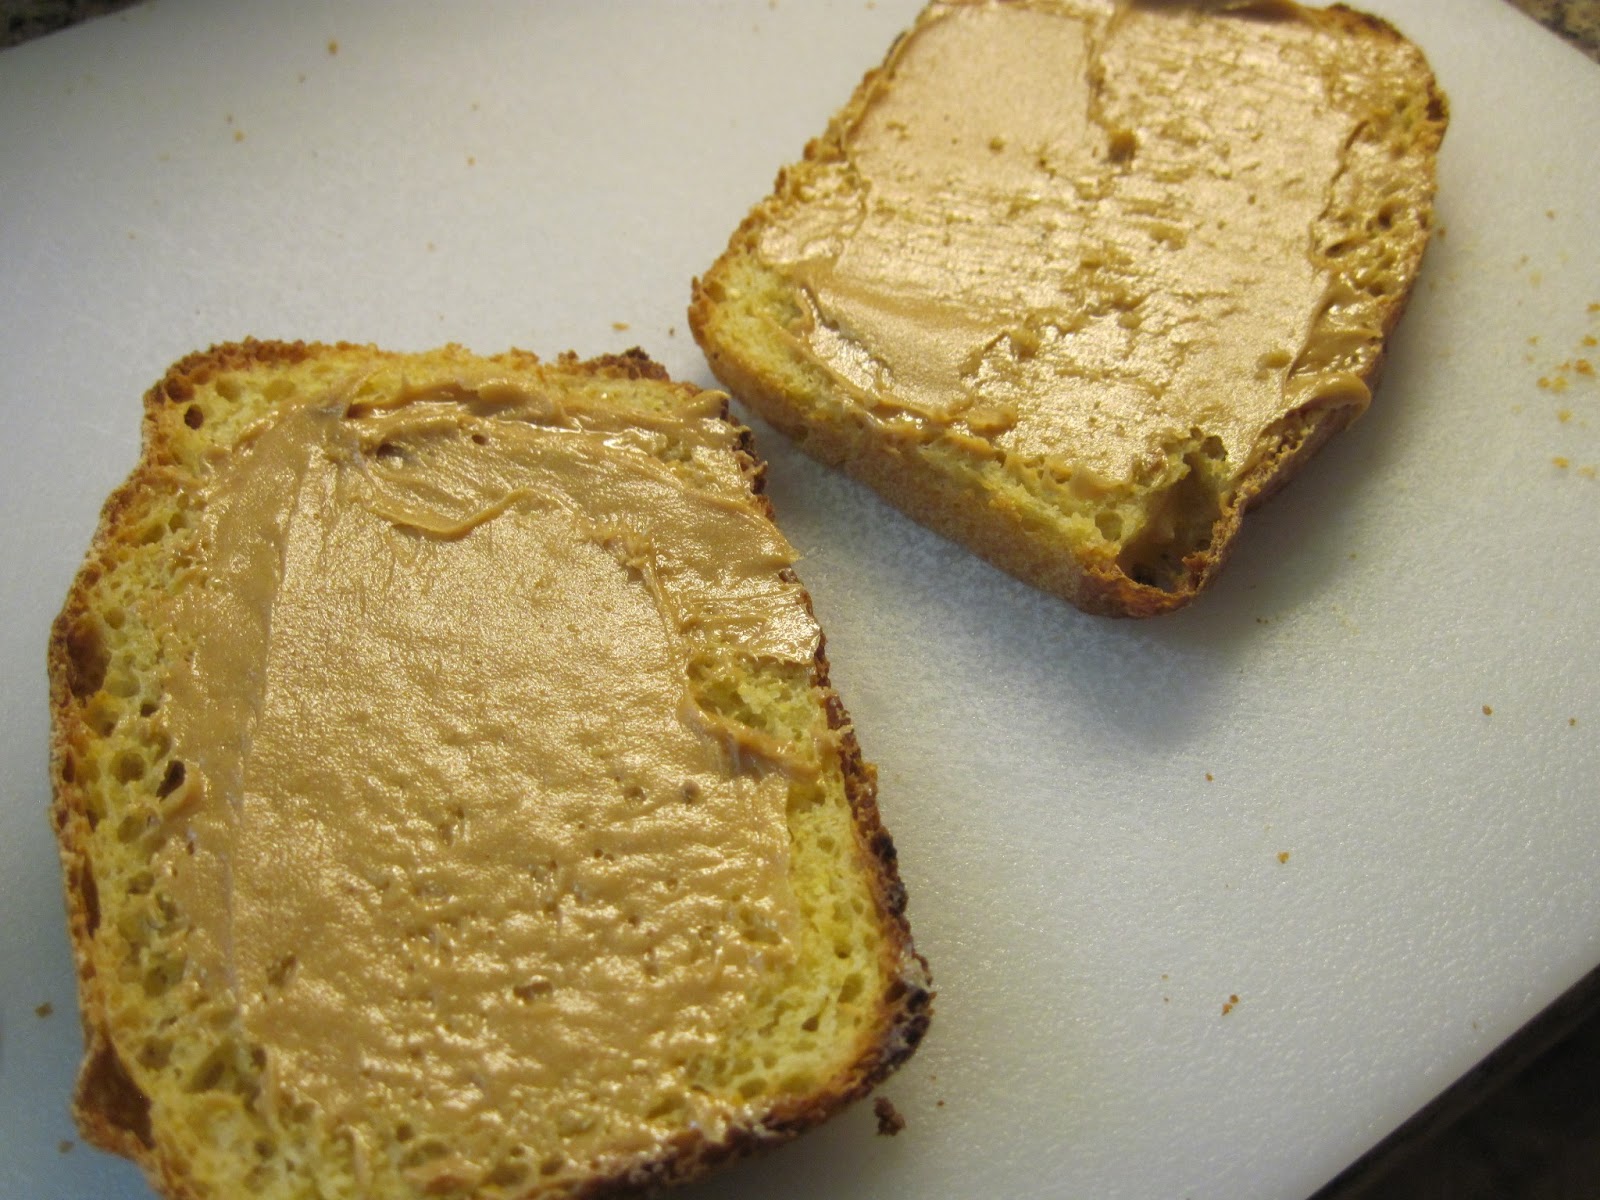 |
| Crunchy Cornmeal and Semolina toast, buttered with peanut butter |
The second loaf was the PDQ
Onion and Rye Bread. This one was not a yeast bread, but was leavened with
chemical leaveners instead – baking soda and baking powder. As you might imagine, the texture was
more like a quick bread. The version I used was
from The King Arthur Flour’s Baker’s Companion and differs from the recipe on their site slightly. Instead of
the Rye Flour Blend and Deli Rye Flavor listed on the site, I used 1 ¾ cups (7 ¾ ounces) of
rye flour (from Arrowhead Farms) and ¾ cup (3 ounces) unbleached all-purpose flour. My
book calls for 1 ½ teaspoons of salt (rather than 1 teaspoon). I used a
slightly smaller amount (2.8 ounces, not 3 ½ ounces as listed in the book) of “Golden Baking Onions” (actually French’s
French Fried Onions) because that was the size of the container of onions.
The book version has an additional ingredient not listed on the website, which I included: 1 tablespoon of vinegar or dill pickle juice; I
used pickle juice. Lastly, the website version instructs you to sprinkle
Artisan Bread Topping on top of the loaf. In the book version, you reserve ¼ cup
of the French fried onions to sprinkle on top instead. One caveat – the onions
don’t adhere very well and end up coming off the loaf when you depan the loaf
and when you slice the bread. They also fall down to the bottom of the toaster
oven (and burn) when you toast the slices, which is kind of a drag. I would recommend just
adding the full amount of onions to the batter. Or if you are really attached
to the look of having some of the onions on top (it makes for a pretty loaf, I’ll
admit), you can try pushing the onions down into the batter slightly to better
embed them and hope for the best.
I thought the onion rye bread was quite tasty, but my darling
husband felt it lacked much oniony-ness. If I were to make it again I might add
some dried onion flakes to bump up the flavor a bit.
 |
| PDQ Onion Rye Bread |
Thursday, February 14, 2013
The Fannie Farmer Cookbook Peanut Butter Cookies

I've been trying to find this recipe online to avoid posting it myself, but have failed to find the exact version. Apparently, the recipe differs depending on which edition you have. My version comes from the 13th edition of The Fannie Farmer Cookbook, published in 1990. The proportions are double that of other editions and but it uses half the amount of salt. More noteworthy to me, and I’ll explain why, is that it calls for shortening rather than butter.
I really don’t like baking with shortening. However, we were
snowbound (hey thanks, Mother Nature!) and had precious little butter in the
house. And precious few sweets. My darling husband was having a powerful hunger
for cookies and I remembered this recipe, one of the few I have that
specifically calls for shortening. I used Spectrum Organic Shortening which, unlike Crisco, is non-hydrogenated. I forget why I originally purchased it,
but I do remember thinking that if I absolutely had to use shortening, I would
prefer to spend a little extra for something a wee bit “healthier.” Both my
local Hannaford and Target carry Spectrum Organic Shortening. Maybe it’s
willful thinking on my part, but when I use the non-hydrogenated shortening, I don’t notice that yucky waxy
mouthfeel that is typical of shortening-based baked goods. I found these
cookies really tasty, and I’m reasonably sure that wasn’t the desperation for
sweets talking.
Peanut Butter Cookies
Adapted from The
Fannie Farmer Cookbook (the weight conversions and the editorializing are
my own)
1 cup (6.5 oz.) shortening
1 teaspoon vanilla
1 cup (7 oz.) granulated sugar
1 cup (8 oz.) light brown sugar
2 eggs, beaten
1 cup (9.5 oz.) smooth peanut butter
3 cups (12.75 oz.) all-purpose flour
1/8 teaspoon salt
2 teaspoons baking soda
Preheat the oven to 350°F
and line a half sheet pan with parchment. In a mixing bowl, thoroughly cream
the shortening, vanilla, and sugars. Add the eggs and beat well. Beat in the
peanut butter. In a separate bowl, whisk together the flour, salt and baking
soda; add to the peanut butter mixture, mixing until thoroughly combined. I
used a cookie scoop (purple handled #40, which is 7/8 oz. for those who care
about this sort of stuff) to measure the dough; place on the lined sheet pan.
Press each cookie twice with the back of a fork to make the traditional
crisscross design. Bake for 12 minutes (less if using a smaller portion of
dough); cookies will be firm when lightly touched, but not brown. Makes about 4
dozen or so (I lost count of the trays going in and out of the oven and the
cookies going in and out of mouths!) using the #40 scoop.
 |
| Crisscrossed and ready to go in the oven! |
Wednesday, February 13, 2013
Chocolate Pots de Crème

I meant to stick to my intention of blogging once a week,
but last week, life got in the way. And a little storm some call Nemo, but which I prefer
to refer to simply as the Blizzard of 2013. So here goes: the first of this
week’s two posts to get me back up to speed.
Last Sunday was the Chinese New Year. It’s the Year of the
Snake, a year that is particularly significant to me because my darling
husband’s Chinese zodiac sign is the snake (this happy confluence means he has a birthday coming
up that is a multiple of 12). But I digress.
When the kids were small, I didn’t really make a proper dessert for
our Chinese New Year dinner celebration but kept it simple – fresh fruit,
usually clementines. While I still give them clementines with their red
envelopes, in recent years I added a simple dessert. Last year, I made Crème Caramel. This year, I decided to make another dessert that I
learned in my Classic Pastry class at Johnson and Wales: Chocolate
Pots de Crème. I’ve never even really eaten Pot de Crème; the day we made Crème
Caramel, Pots de Crème and Crème Brulée in class, the desserts were assigned by
team. My team made the Crème Brulée. While knowing how to make Crème Brulée is a
fabulous life skill, this meant my team only got to eat the Crème Brulée. So I
figured this would be an excellent opportunity to sample some!
I chose this recipe
from David Lebovitz’s Ready for Dessert,
found on the Culinate site. Baked custards and water baths used to intimidate
me, but they really are fairly forgiving and quite simple. One of the terrific
things about this particular recipe is that it uses ingredients I generally
have in the house (for example, half and half rather than whole milk and heavy
cream).
These were a big hit with my family. They would be best
described as a chocolate egg custard (without being too eggy); my husband likened it to Chocolate Mousse, but without its lightness. I served them at
room temperature without any garnish, but they would be wonderful with a dollop of Chantilly Cream. My discerning eater C. lamented that the recipe makes too little (six ramekins!), so I’m pretty certain I will be making these again. Happy Year of the Snake!
Saturday, February 2, 2013
Herb and Garlic Rolls

King Arthur Flour created this recipe as Herb & Onion Rolls; however, I've never made them with the dried minced onion as directed, but
substitute dried minced garlic because I have a big ol’ bottle of that in my
pantry. The garlic makes the house smell absolutely AWESOME so now I can’t
imagine ever making them with onion.
I reserved the boiling water from making mashed potatoes a
couple of nights before and mixed the dough by hand since my stand mixer has
developed a pesky electrical problem and won’t mix.
I made the dough into cloverleaf rolls – for those of you
who are attached at the hip to your scale as I am, each of the 36 little balls
of dough should weigh about 18 grams to get the sections of your cloverleaf
even and total out to 12 rolls. I haven’t yet sprinkled seeds on top of my
rolls as suggested and this time I didn't even brush them with melted butter
when they came out of the oven (just to see what it would be like without) and
they were delectable all the same.
Thursday, January 24, 2013
(Vegan) Mexican Hot Chocolate Snickerdoodles

I had been holding on to the recipe for these cookies for some time. I was largely unaware of the possibilities of
vegan baking until a dear friend, Dawn, took me to a local vegan bakery. I
tried a number of goodies there and was gobsmacked by how moist and delicious
everything was. I would never have guessed that none of it contained dairy or
eggs. Dawn is herself a vegan and a big fan of yummy things, so I decided that
I wanted to honor our friendship by making something for her. Plus, she’s a
great guinea pig and has always been supportive of my baking experiments.
After vetting many recipes, I decided that Post Punk Kitchen’s
Mexican Hot Chocolate Snickerdoodles sounded promising, and printed out the
recipe, intending to make them as a Christmas offering to Dawn. That would be Christmas
2011. I ended feeling overwhelmed with the holiday baking and never got around to
them. Then sometime this fall, our group of girlfriends had a conversation
about food (we have many conversations
about food) and the subject of chili-infused chocolate came up; Dawn was most
enthusiastic. So that sealed the deal; I had to make those cookies this
Christmas. And so I did.
I cannot rave about these cookies enough. They were simple
to make and did not require any unusual ingredients. No egg substitute or flax
meal were necessary. I was worried that the cookies would be greasy with the
amount of canola oil used; they weren't. I was worried that they would lose
their crispness when stored; they didn’t. My non-vegan family loved them. Dawn
loved them. Dawn’s husband loved them; he even emailed me a plea for help one
day because he couldn’t stop eating them and was afraid she would return home
from work to discover that they were all eaten.
The cookies are pleasingly chocolaty and have a depth of
flavor that I really enjoyed. I loved
how the chocolate and cinnamon played off each other, and the slow burn of the cayenne.
The texture is firm but there’s a nice chewiness in there too. Who knew a vegan
cookie could be so satisfying?
Thursday, January 17, 2013
Bourbon Balls

I made these this holiday season when I found myself with an abundance of bourbon -- not a spirit I would ordinarily choose to imbibe. I thought they'd be a fun, boozy treat for my friends -- drunken cake balls, if you will. Plus, as my friend Allison pointed out, "bourbon balllllllllls" is fun to say.
The recipe posted on Joy of Baking was really simple to make, although dipping the balls in the melted coating chocolate (I used Guittard Dark Chocolate A'Peels because I wasn't in the right frame of mind to temper chocolate) was a little tricky and gave me nasty Johnson and Wales Chocolates and Confections class flashbacks. I drizzled them with melted Ghiradelli White Chocolate Baking Bar, which I thought made them look pretty fancy.
Peeps loved them and couldn't stop popping them -- did I mention my friends like boozy treats? I thought they were delicate and moist and all those good things, but I quickly tired of the bourbon-iness. I think I would prefer rum balls. Maybe next Christmas I will have too much rum on hand and will need to find a way to use it up. I really can't imagine being in that situation but you never know!
Thursday, January 10, 2013
Baked Doughnuts

Last Christmas (2011 that is), I received a set of doughnut pans from my boys. Although we used them a few times last winter, I hadn't pulled them out yet this year. So, at the urging of my younger child, I made doughnuts the first Saturday of the new year. It also happened to be the morning the boys were to attend a special Saturday session for their respective A.P. English classes so I thought it would be a nice incentive for them to get out of bed on what might otherwise be a kind of a bummer of a Saturday (I mean, who wants to go to school on a Saturday morning to take a practice A.P. test?). This meant I had to get up at 6 am to make them, but isn't that what motherhood's all about?
I made plain Baked Doughnuts with Easy Vanilla Glaze and rainbow sprinkles. I had previous tried a different King Arthur Flour baked doughnut recipe (as well as recipes from the back of the doughnut pan box) and thought this new recipe was much better than the previous ones I'd used. The texture was less spongy/soggy and they didn't stale as quickly, and the glaze coated and set up very nicely. My boys tall and taller loved them as well.
 |
| Fresh out of the oven! |
 |
| Depanned and cooling... |
 |
| Mixing the glaze |
 |
| Sweet, sticky, sprinkly goodness! |
My next doughnut experiment will be baked chocolate doughnuts... still deliberating between vanilla and chocolate glaze. ;-)
Thursday, January 3, 2013
Happy 2013!

First off, Happy New Year to all. I hope you survived the holiday season with waistline and sanity intact.
One of my goals for 2013 is to resume regular posting (and baking), so here goes. Our house is still recovering from the glut of baked goodies (ours and gifts from others) that we acquired in the past couple of weeks so I haven't baked anything new this week. I do have a backlog of projects to post though, so that's not a problem!
Our family's Christmas Eve food tradition is a dinner of baked ziti, Caesar salad, and Texas Toast, with something rich and chocolatey for dessert after church service. My younger son commented that he was having a hankering for cake so I decided to make the Triple Layer Chocolate Birthday Cake from one of my favorite food blogs, Eat, Live, Run. Jenna Weber is the creator of Eat, Live, Run, and in the past year, it has become my go-to when I need ideas for something to make (savory and sweet). My Pinterest boards are easily 80% Eat, Live, Run repins!
Back to the cake. I used cow's milk (rather than almond milk) in the cake and vanilla extract rather than vanilla bean in the cake and frosting. I was slightly concerned baking the three layers, since I only have two straight-sided 9-inch cake pans; I used an old supermarket-quality (i.e. sloped-sided) 9-inch pan for the third layer. The batter mixed up great and the layers rose nicely and were pretty level when they came out of the pans. I did put greased and floured parchment rounds on the bottom of each pan because I didn't want any surprises when it was time to depan the layers. I tested them at the prescribed 40-minute mark and they seemed perfect -- sides beginning to pull away, a few crumbs sticking to the toothpick -- so I pulled them out then.
No incidents with making the ganache or the frosting... everything went painlessly and I managed to sneak in a 2-mile run while I was waiting for things to cool/set up. The whole cake came together beautifully and I used every last bit of the frosting, thus the sad solitary rosette on the top of the cake! In hindsight, perhaps I should've used a smaller tip to decorate, but I was going for speed at that point, and I rarely run out of frosting (most recipes make way too much) so it didn't occur to me to go light.
The three layers create a MONSTER of a cake. Lift with your knees, peeps!!
Now -- the eating of the cake. In hindsight, I'm thinking my layers were overbaked because the cake was a tad dry right off the bat. Next time, I would check them a bit earlier and/or brush the layers with a flavored simple syrup. My guys LOVED the frosting, but were just meh about the ganache between the layers; they couldn't taste it. I only had enough ganache to do a fairly thin layer between the cake layers; it just didn't stand up to the dryness of the cake itself. I think if there were more (and the cakes weren't overbaked) it would have made more of an impact. Also, the cake really could've used more frosting (I have never, ever said those words before). The guys suggested that next time I make only two layers, replace the ganache layer with frosting and use the same or more frosting to ice the cake, so that'll be my plan. I'll let you know how it turns out!
Subscribe to:
Posts (Atom)